How to build multilingual sites with SiteSpot and WPML
WPML allows you to translate pages built with SiteSpot. You simply create your page with the builder and then use WPML to translate the texts.
| Page in original content | Page translated to French |
|---|---|
 |
 |
Introduction
SiteSpot is a complete design system that includes a page builder plugin and a framework theme that will help you create the website that suits your needs. If you want to have a multilingual site, SiteSpot’s integration with WPML will allow you to translate all of the modules side-by-side.
What you will need to activate
- WPML plugin – available on SiteSpot Pro and above plans
- WPML Page Builders plugin – available on SiteSpot Pro and above plans
Essential resources
- WPML’s Getting Started Guide will help you in setting up WPML in a few minutes. You will want to refer later to some of its subtopics, such as Theme and Plugin Localization and String Translation. We recommend that you keep this guide open while following this tutorial.
Getting Started
- Set up WPML from WPML > Languages. See our WPML Getting Started Guide for complete reference. The initial, simple three-step setup is self-explanatory, asking you to choose your default language, a set of active languages and a language selector (for starters, choose the footer language selector – you can change this later).
- Install and activate the core WPML plugins (WPML Multilingual CMS, WPML String Translation, WPML Translation Management, WPML Page Builders) first, followed by other WPML plugins that may depend on them.
- Activate the Translation Editor: Simply click on the displayed message once.
Translating a page built with the SiteSpot
WPML 3.7 presents new features that simplifies further the process of translating pages created using SiteSpot. The following new features are added:
- Preserving the existing translations when editing the default language page
- Automatic Translation for internal links
- Copy-once mode for custom fields
WPML allows you translate content in three ways. You do the translation yourself, you send content to your chosen translators or you send jobs to a professional translation service.
Translating content:
Publish the page you just created with SiteSpot. After publishing, you will see the Language box.
Click the plus button for the language you wish to translate into.
You can find these plus buttons in the Language box when editing your page or on a listing page:
| The plus located in the Language box when editing my page. | The plus located under the flag in Pages -> All pages |
|---|---|
 |
 |
By clicking on one of these plus, you open WPML’s Translation Editor. Use it to translate the contents of your page and tick the box when the translation is complete as shown below:
When you’ve already translated, the plus icon changes to a pencil icon. Click on the pencil if you need to modify your translation.
Adding a new module to the page and doing the translation
In this part we will look at how to update your translation if you decide to add a new module in your page. Let’s create a new module and add it to the page:
Then click on Done:

Done Button
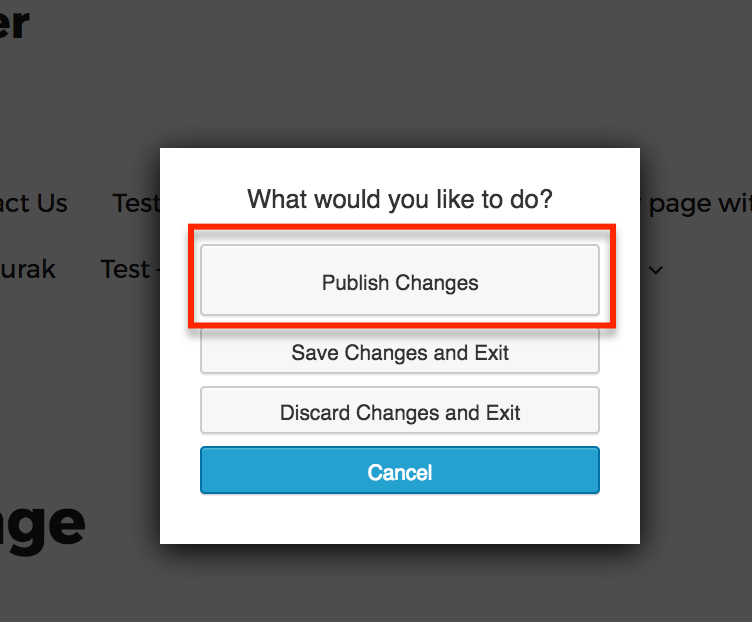
A window will open with three choices.
The two first options will slightly influence the translation process. We will see the 2 different scenarios below.
Scenario 1: I have added a new Button to my page and I click on “Publish Changes”.
To translate your page you have to go back to your WordPress dashboard.
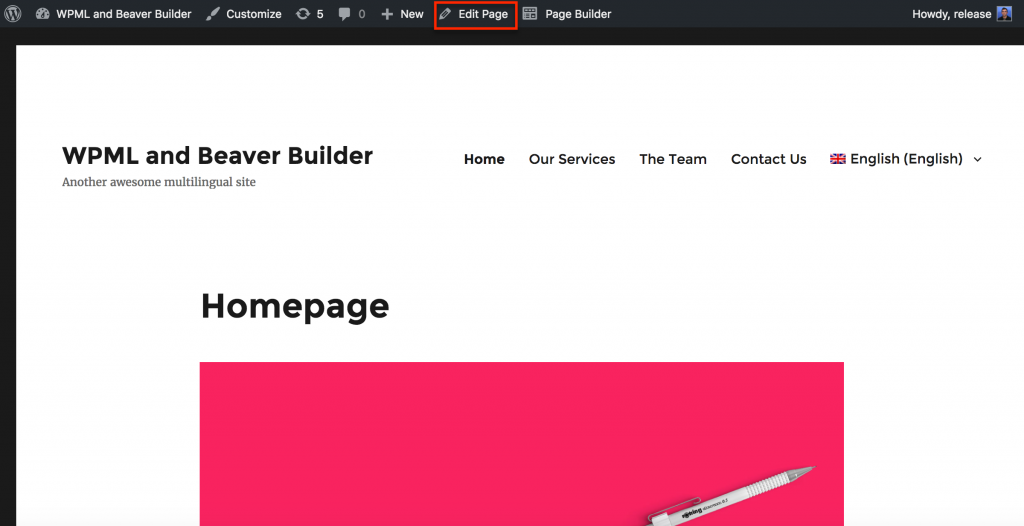
Click on Edit Page.
The plus icon has become an arrow, which means that you have to update your translation. It makes sense as we have just added a new module in English on this page.
Click on the arrow to open WPML Translation Editor.
NB: We have not translated in Spanish yet, that’s why the plus is still here next to Spanish.
WPML translation editor will open with the new module to translate (my button):
Translate the module, mark the translation has complete and save and close once you get 100%
Scenario 2: I have added a new Button to my page and I click on “Save Changes and Exit”.
If you select Save Changes and Exit your translation is not updated yet. That’s why you need to go back to the back-end to update it.
Click on Edit Page:
As you can see below, there is no arrow next to the French translation. There is a pencil instead which means that WPML has not “seen” yet the module you just added.
Important: You need to click on Update to load the module “button” in the translation editor.
After updating, the pen will become an arrow and you will be able to translate your new module. Click on the arrow to translate and load WPML translation editor. The next translation steps are the same as showed in the scenario 1.
Updating an existing module and its translation
In this part we will see how to update your translation if you decide to modify the content of one of your modules.
Edit an existing module with SiteSpot (this module has been translated once) and click on Save.
Click on Done at the top of the page:
A Window will open with three options:
Publish the change:
(If you choose the Save Changes and Exit option, don’t forget to click on update before opening WPML translation editor as we explained in the scenario 2 of the previous section.)
Go back to your dashboard by clicking on Edit Page. Now, we need to update the translation.
Click on the arrow in the Language box to open WPML translation editor:
The old translation (in red) is still here, you only need to add the translation of the new content (in blue).
WPML Translation Editor. The new content added to my module (in blue) vs the existing content (in red)
This is how the result looks like once you have translated the full module:
This is how it looks like in the front-end:
| My updated call to action in english | My updated call to action inFrench |
|---|---|
 |
 |
List of the SiteSpot Modules currently translatable by WPML
The following textual elements in the SiteSpot Modules are supported by WPML. Some of them will automatically be displayed in the Translator Editor.
- Button
- HTML
- Heading
- Text editor
- Accordion
- Call to action
- Callout
- Contact form
- Content slider
- Countdown
- Gallery
- Icon
- Icon Group
- Map
- Menu
- Number counter
- Posts
- Pricing Table
- Sidebar
- Slideshow
- Social Button
- Subscribe Form
- Tabs
- Testimonials


