Getting started with the Autotask integration
STEP 1: Create an AutoTask API user
In your AutoTask admin, head to the Resources (users) section. Under Admin in your main menu
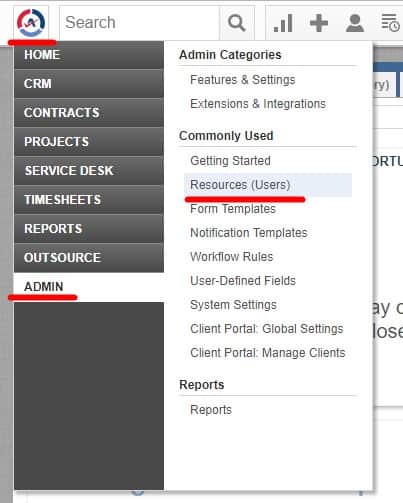
Create a new user
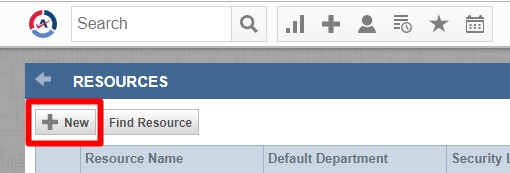
A window will pop-up
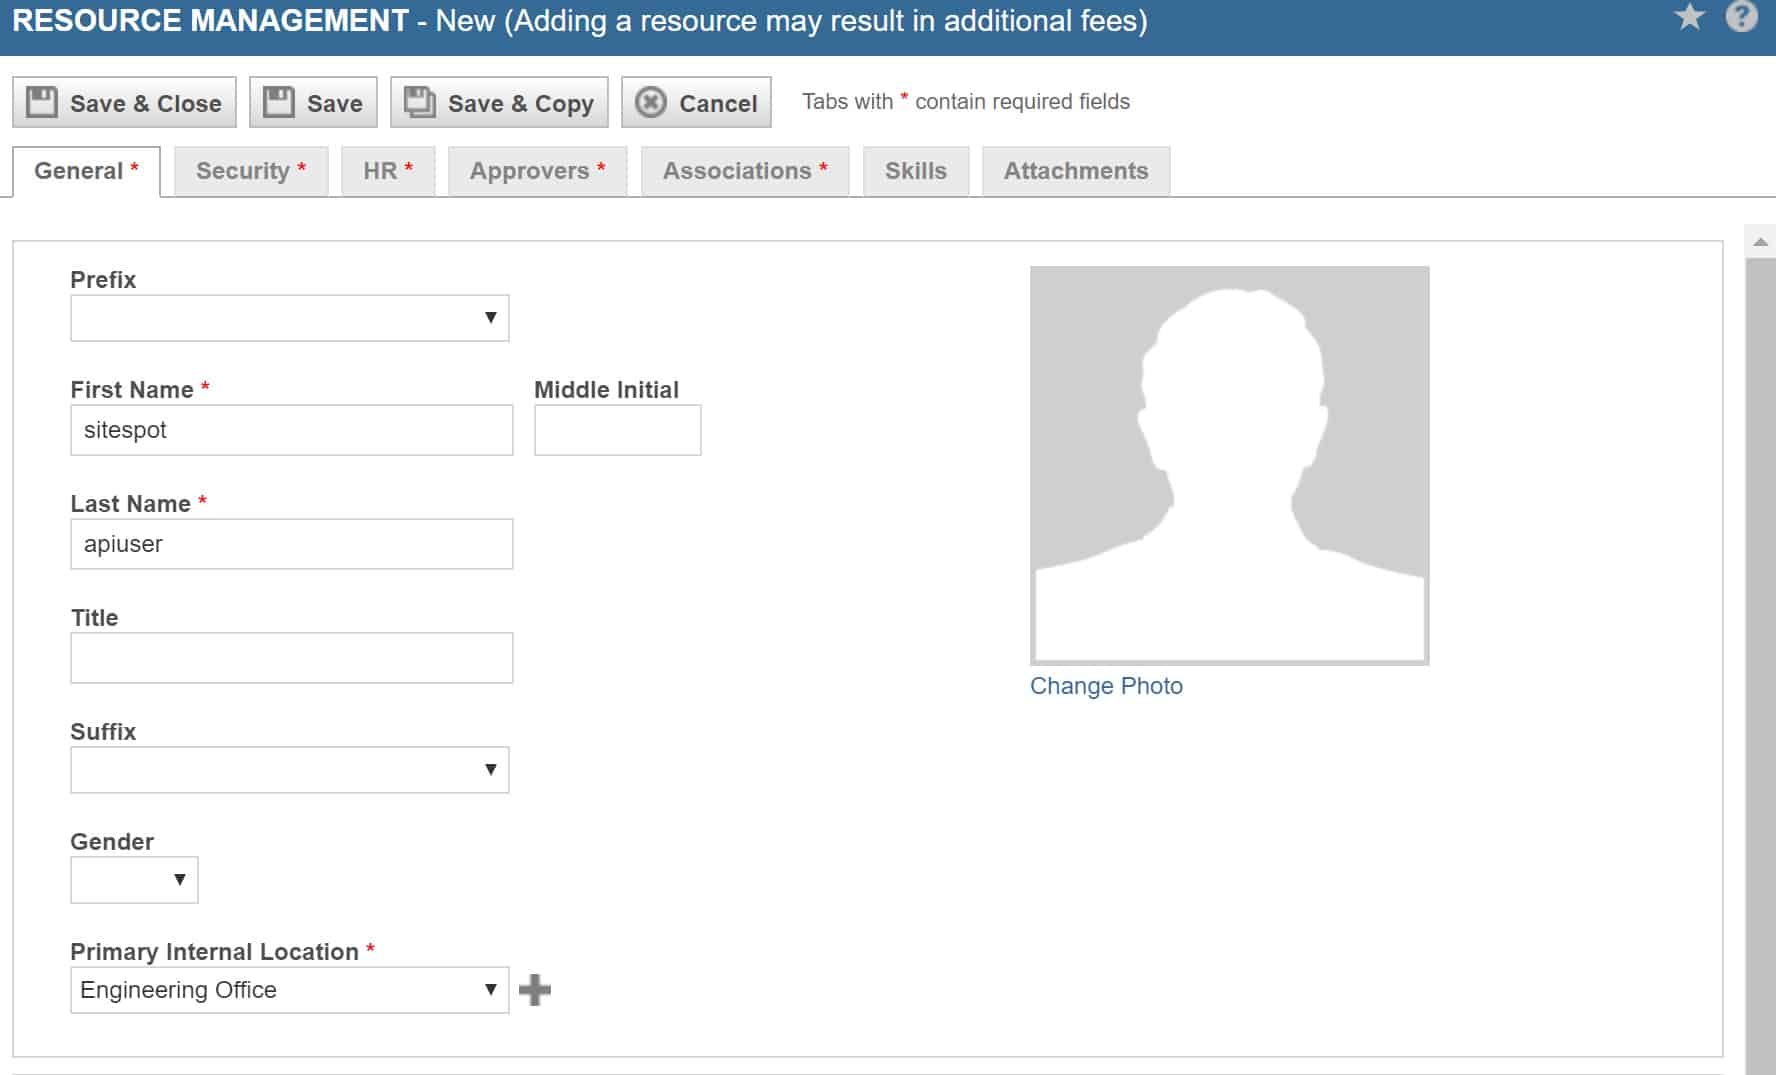
Fill out the General tab with information to help you identify the API user you are creating.
Next, Jump over to the Security tab.
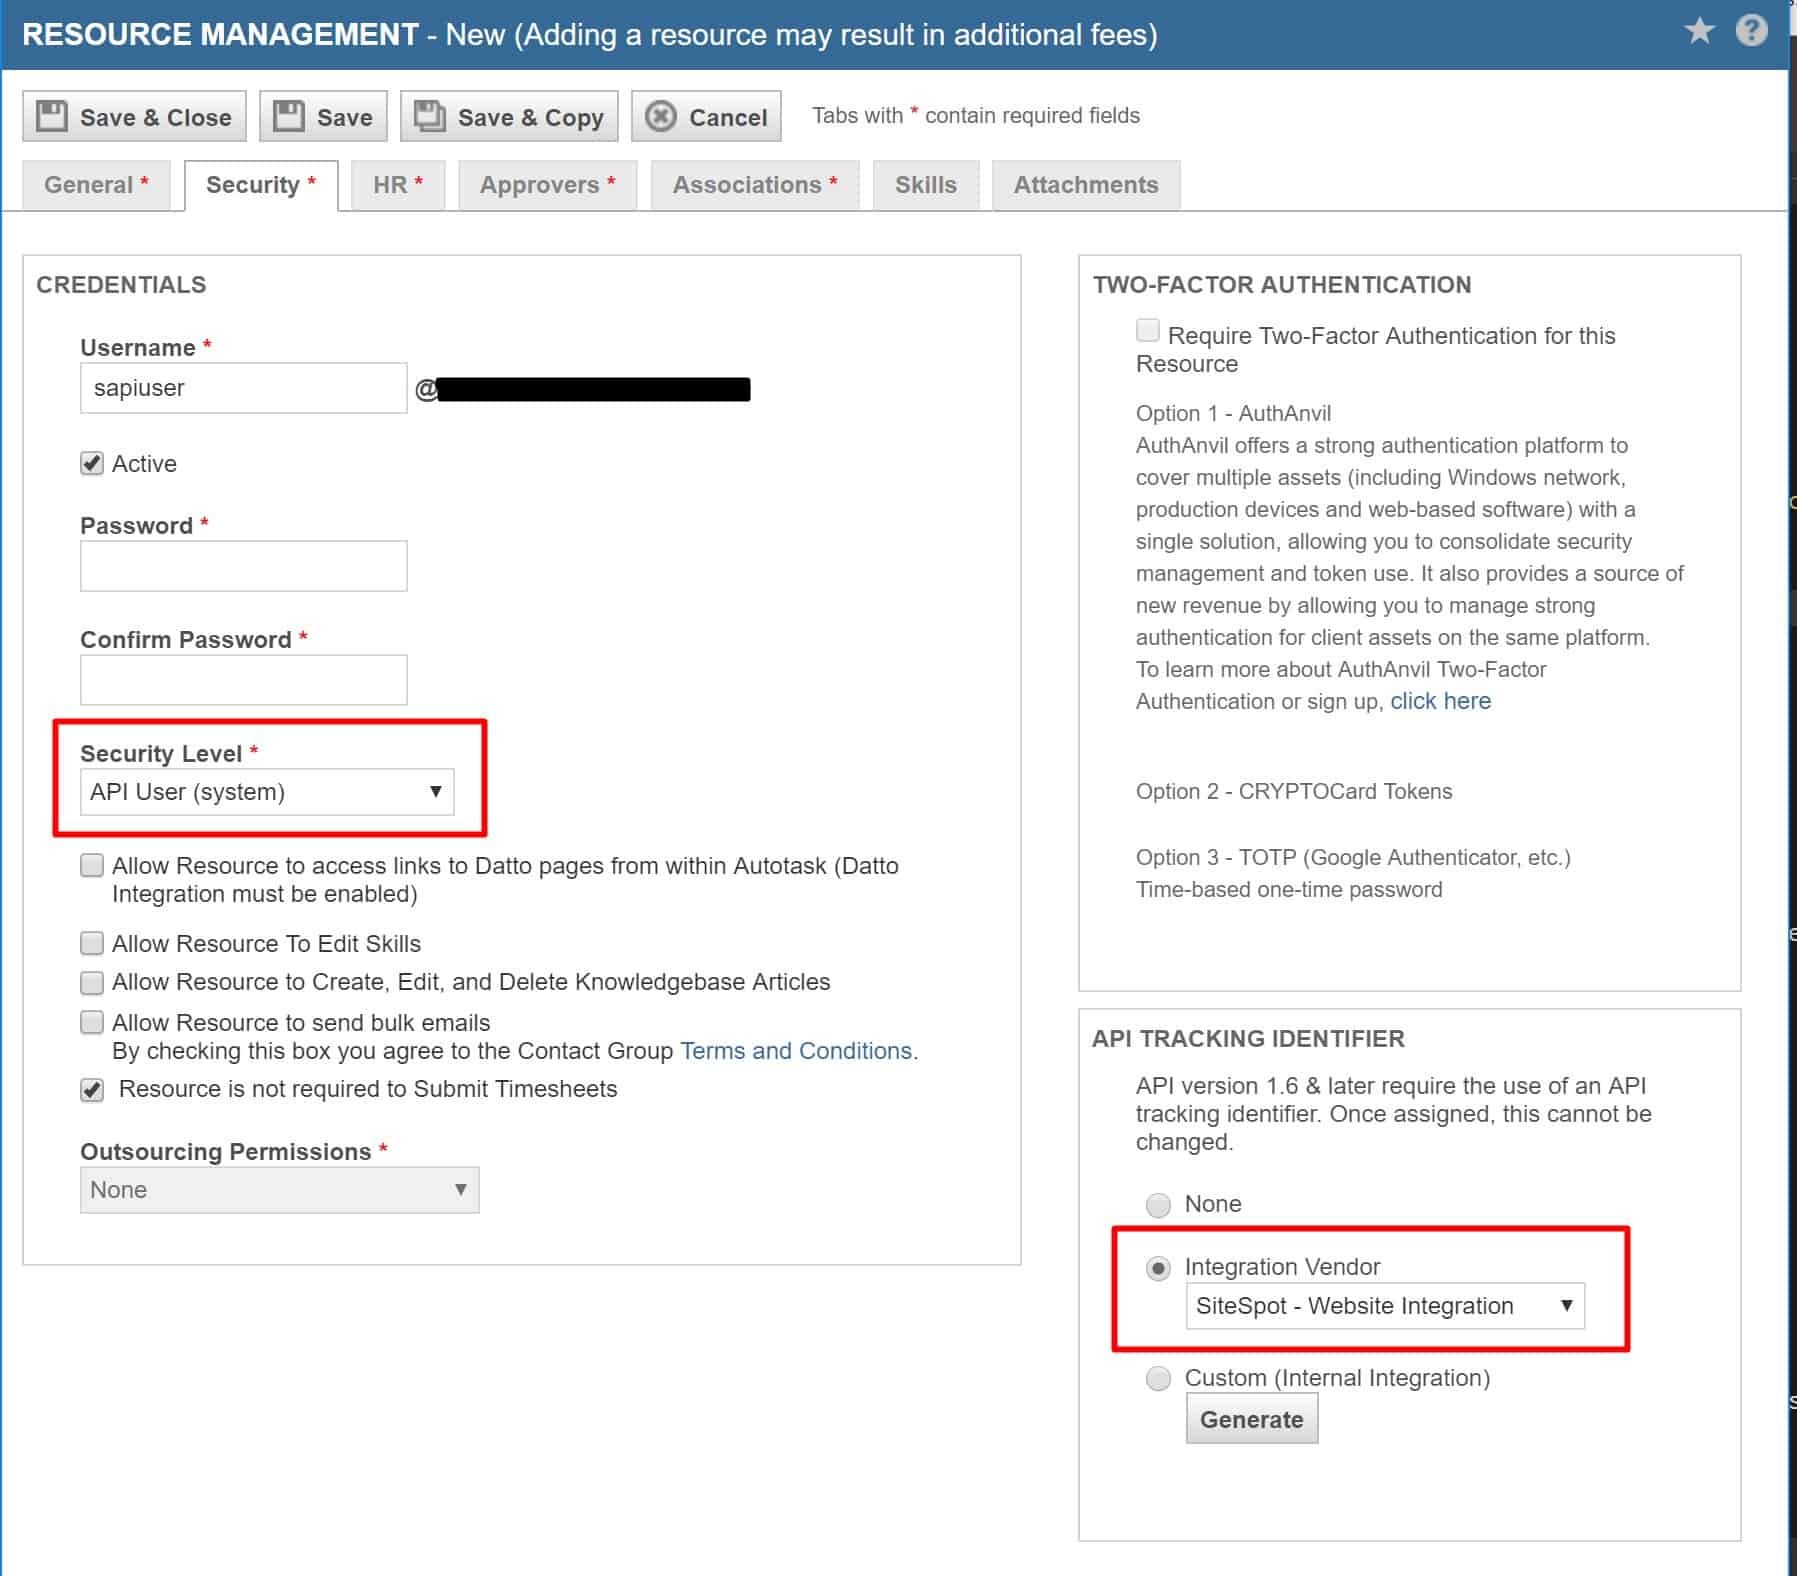
Choose the Security Level of “API User“
Choose “SiteSpot – Website Integration” for your integration Vendor. This step is now required by AutoTask.
Complete the user creation steps and click “Save“
STEP 2: Configure SiteSpot to connect to Autotask
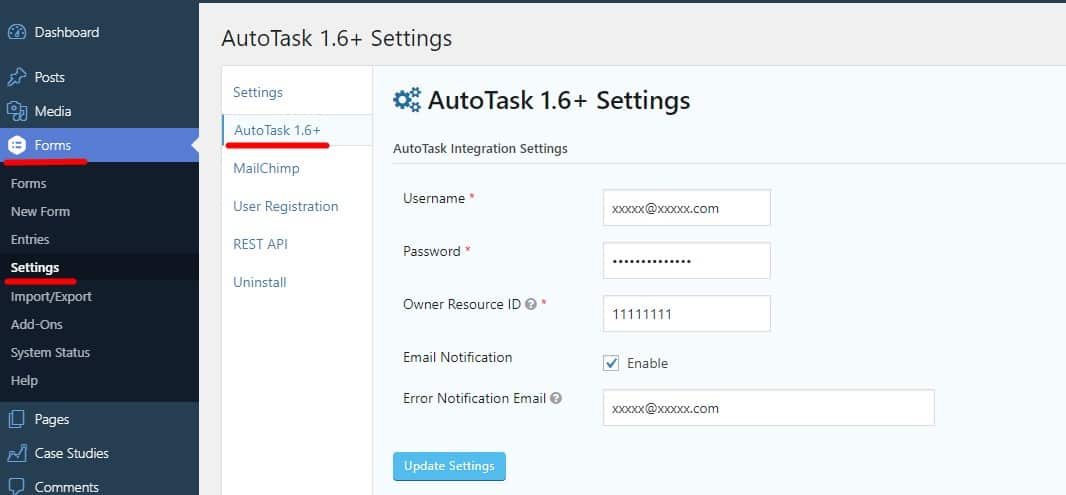
Configure your account details in the admin under Forms > Settings > Autotask
Click update settings when done.
STEP 3: Map your form fields to your Autotask fields
NOTE: All fields are required.
Each form needs to be mapped to your desired fields in Autotask.
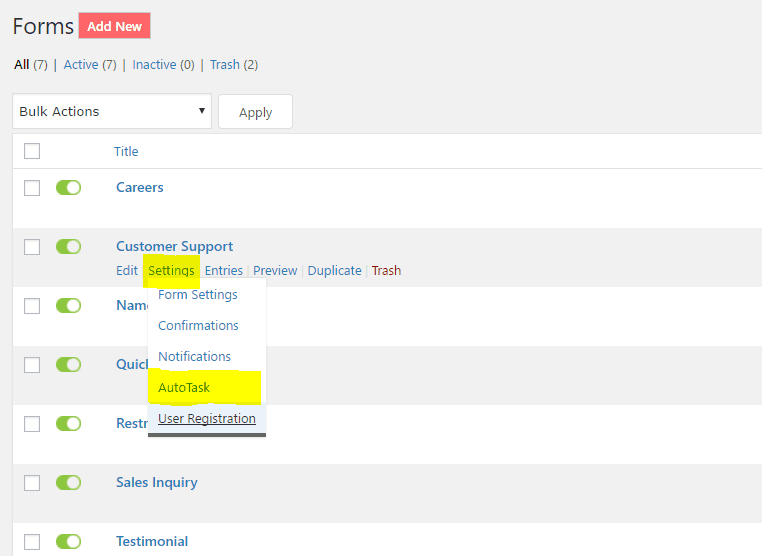
Go to the ‘Forms’ section in your SiteSpot admin panel.
Hover over ‘settings’ under the form you wan, and click on ‘Autotask’ as below
Create a new feed
Map the fields to your needs.
You can hover over the question marks to help you find your queue id’s etc
NOTE: All fields are required.